
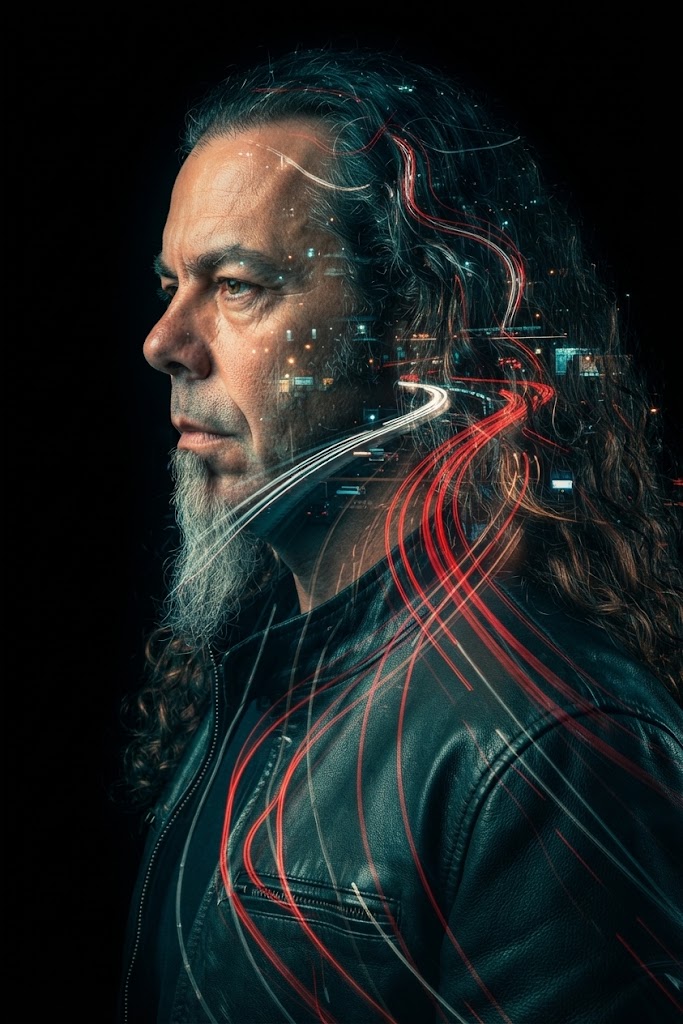
בקצרה: במקום "תאורה קולנועית" כותבים שם של מערך תאורה ואת הגיאומטריה שלו. רמברנדט: אור רך גבוה ב־45 מעלות ומשולש אור קטן על הלחי המוצלת. פרפר: אור גבוה וישר מקדימה וצל קטן מתחת לאף. מפוצלת: אור קשה ב־90 מעלות וחצי פנים בצל. קצה: אור חזק מאחור וקו מואר סביב הדמות. ואז כותבים גם מה אסור שיקרה.
הביטוי הזה מתאר עשרות תוצאות אפשריות, והמודל בוחר לבד. כשנותנים שם למערך ומתארים איפה האור, באיזה גובה ובאיזו זווית, איזה צל רוצים לראות ולאן הפנים מסתכלות, המודל מקבל הוראה שאפשר לבדוק. המטרה היא פחות עמימות, לא יותר שמות תואר.
| מערך | מיקום האור | מה רואים | מתאים ל |
|---|---|---|---|
| רמברנדט | אור רך, גבוה, כ־45 מעלות לצד | משולש אור קטן על הלחי המוצלת, מתחת לעין | פורטרט דרמטי עם עומק |
| פרפר (Paramount) | גבוה וישר מקדימה, ממש מעל המצלמה | צל קטן בצורת פרפר מתחת לאף, פנים מוארות באופן מאוזן | ביוטי, אופנה, תמונות תדמית |
| מפוצלת (Split) | אור קשה בדיוק 90 מעלות לצד, בגובה העיניים | חצי פנים מוארות וחצי בצל עמוק | ניגודיות גבוהה, מתח |
| קצה (Rim) | אור חזק מאחורי הדמות, מעט מעל הראש | קו מואר לאורך השיער, הפנים והכתפיים | הפרדה מהרקע, סילואטות |
Rembrandt lighting: a soft key light placed high and 45 degrees to the subject's side, creating a clear small triangle of light on the shadowed cheek beneath the eye. Keep the shadows dimensional and natural; avoid flat frontal fill.
פרומפט מלא:
Create a realistic, cinematic portrait of [SUBJECT]. Use Rembrandt lighting: a soft key light placed high and approximately 45 degrees to one side of the face. Make the defining small triangle of light visible on the shadowed cheek beneath the eye. Preserve natural skin texture, believable facial anatomy, realistic catchlights, and gradual shadow falloff. Keep the background simple and slightly darker than the lit side of the face. The subject is turned only slightly toward the camera so the cheek-light pattern remains visible. Photorealistic, controlled contrast, detailed eyes, no beauty retouching or plastic skin.
כשהמשולש נעלם: הפנים מסתובבות יותר מדי, האור קדמי מדי, או שאור מילוי מרים את הצללים. משאירים את הפנים מסובבות רק קצת, כותבים במפורש 45 מעלות ומבקשים מילוי מינימלי.
Butterfly lighting: place the key light high and straight in front of the subject, centered just above the camera. Create a small, distinct butterfly-shaped shadow beneath the nose and balanced illumination across both sides of the face.
פרומפט מלא:
Create a polished, realistic head-and-shoulders portrait of [SUBJECT]. Use butterfly (Paramount) lighting: one key light positioned high and directly in front, centered just above the camera. Show a small butterfly-shaped shadow beneath the nose, with balanced light across both cheeks and clear but soft facial definition. Keep the subject facing almost straight toward the camera. Use natural skin texture, realistic eyes, restrained highlights, and a clean background. Avoid harsh side shadows, excessive shine, and over-smoothed skin.
כשזה שטוח או שהצל ארוך מדי: האור נמוך מדי, צדדי מדי או חזק מדי. כותבים "high and directly in front, just above camera" ו־"small butterfly-shaped shadow beneath the nose".
Split lighting: use a hard key light exactly 90 degrees to one side of the subject at eye level. Illuminate one half of the face and leave the other half in deep shadow. No fill light and no frontal light; keep the face looking straight toward the camera.
פרומפט מלא:
Create a dramatic, photorealistic portrait of [SUBJECT] looking directly into the camera. Use split lighting with a hard key light placed exactly 90 degrees to one side at eye level. The light must illuminate one half of the face while the other half falls into deep, clean shadow. Do not add frontal fill or a second light that erases the split. Preserve realistic skin texture, detailed eyes, natural facial proportions, and controlled highlights. Use a dark, uncluttered background and strong but believable contrast.
כששני הצדדים מוארים: המודל הוסיף מילוי או שהדמות הסתובבה. חוזרים על "exactly 90 degrees", "no frontal light" ו־"no fill", והפנים ישר למצלמה.
Rim lighting: place a bright light behind the subject, slightly above the head and hidden from the camera. Create a clean glowing outline along the hair, outer face edge, and shoulders. Keep the face in soft shadow but still readable; avoid an accidental full silhouette or strong lens flare.
כשהדמות הופכת לסילואטה שחורה: אין מספיק מילוי או שהאור האחורי חזק מדי. מבקשים פנים קריאות, מגבילים את הקו המואר לקו המתאר, ומסתירים את מקור האור מהמצלמה.
קודם מתארים את האור הראשי, ואז מוסיפים אור אחורי מבוקר. לדוגמה, רמברנדט עם קצה:
Use Rembrandt key lighting: a soft light high at 45 degrees to one side, producing a small triangle of light on the shadowed cheek. Add a restrained backlight behind the subject, slightly above the head, to create a fine rim along the hair and shoulders. Keep the Rembrandt cheek triangle visible and the face naturally exposed.
אם המאפיין של המערך הראשי נעלם, מחלישים את אור הקצה. בתאורה מפוצלת במיוחד, מוודאים שהאור האחורי לא מאיר את החצי המוצל.
Create a [SHOT TYPE] of [SUBJECT] in [SETTING]. Use [LIGHTING SETUP]: [EXACT LIGHT POSITION AND ANGLE]. The defining shadow pattern should be [SHADOW DESCRIPTION]. Keep [SUBJECT ORIENTATION] so the lighting pattern remains visible. Preserve realistic skin texture, natural anatomy, and believable exposure. The background is [BACKGROUND DESCRIPTION]. Avoid [UNWANTED LIGHTING EFFECTS]. Photorealistic, coherent lighting, consistent highlights and shadows.
ולווידאו מוסיפים:
Maintain the same lighting setup, light direction, shadow pattern, and exposure throughout the entire shot. Do not let the lighting change between frames. Keep the subject's orientation compatible with the specified setup.
לא מבקשים "תאורה קולנועית" ומקווים שהמודל ינחש. נותנים שם למערך, ממקמים את האור, מתארים את הצל ושולטים בכיוון הפנים. ככה מקבלים פרומפט שאפשר לבדוק ולתקן.